Creating dynamic scenes with smooth camera movements can add a whole new dimension to your animations. In this article, we will explore how to use panning motion with multiple characters in a single scene on Pika Labs. With tools like Pika Labs, you can create cinematic experiences by combining images, text prompts, and motion parameters. Let’s dive in!
Step 1: Joining the Pika Labs Discord Group
Before we get into the technicalities of creating a scene, the first step is to join the Pika Labs Discord group. This community space is where the magic begins. By joining, you get access to a special bot that allows you to create videos using either text-to-video or image-to-video prompts.
Once inside, you can interact with the bot to start creating your cinematic scenes. To start, simply message the Pika bot, and you’ll be directed to your private room where you can work on your videos. This setup is perfect for experimenting with the various features Pika Labs offers. From here, we’ll focus on using image-to-video to really bring life to your scenes.
Step 2: Adding Parameters and Camera Movements
Now that you’re set up in Pika Labs, the next step is to add motion to your characters using image-to-video prompts. This involves defining parameters and camera movements. Parameters help guide how characters in your scene will move. For example, you can control how fast a bird flies or how close the camera zooms in.
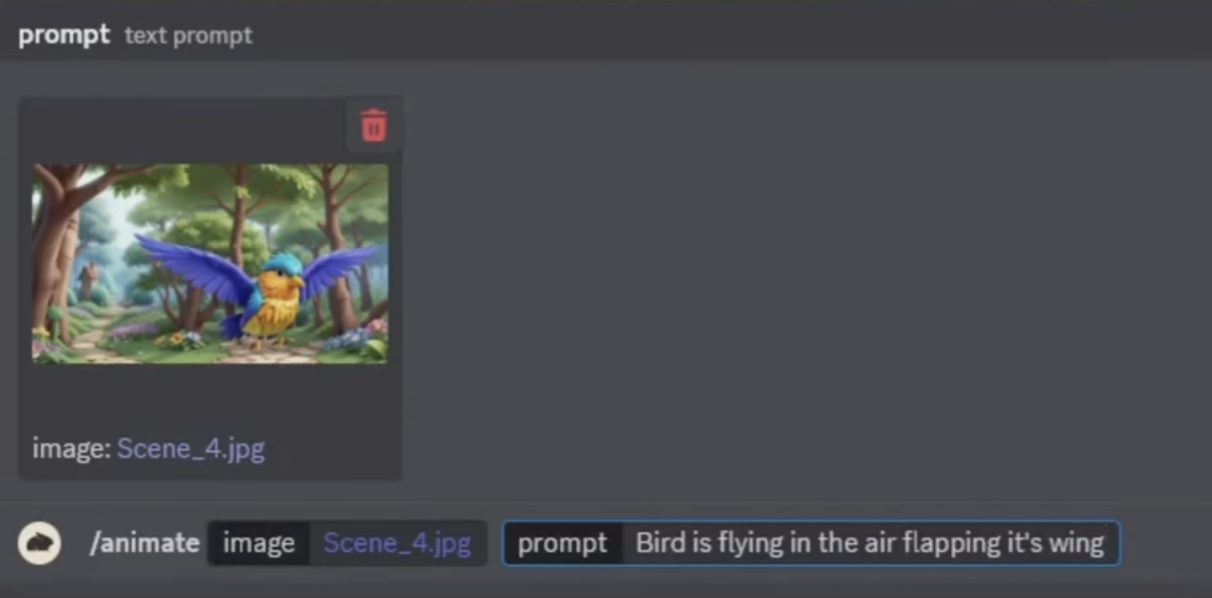
To do this, you start by typing a forward slash and selecting the “animate” option. After uploading your image, you can add prompts that describe what you want to see.
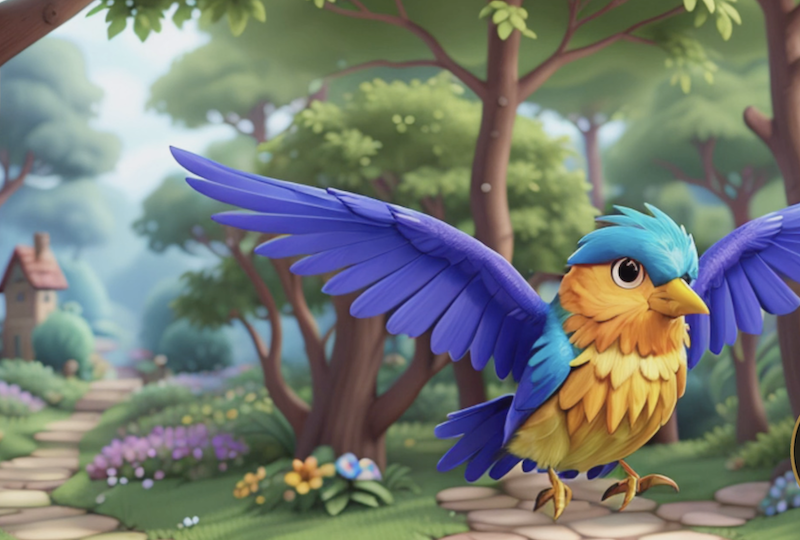
In our example, we’ll have a bird flying to the right, flapping its wings. You can then set the intensity of the motion by adjusting the “motion” parameter, which ranges from 1 to 4, with 4 being the most intense.
Once the character’s motion is set, it’s time to make things more dynamic with camera movements. You can choose between zooming, panning, or rotating the camera. In our demonstration, we’ll use a left pan to reveal more of the background, enhancing the overall visual impact. Experimenting with these options will help you find the best combination for your scene.
Step 3: Upscaling Your Video for Cinematic Quality
After adding the motion and camera movements, the final step is upscaling your video to give it a professional, cinematic look. This can be done using CapCut, a free tool that allows you to upscale videos to 4K quality. Simply upload your video to CapCut, click on the “Magic tools” option, and choose “Image Upscale.” In just a few seconds, your video will be ready for download in high resolution.
Upscaling ensures that your video looks sharp and smooth, making it feel more like a high-quality movie. This step is especially important if you want to share your work on social media or with a larger audience. With just a few clicks, your video can look as polished as something straight out of a professional studio.
Final Thoughts and Next Steps
By following these steps, you can use Pika Labs to create captivating animations with panning motion and multiple characters in one scene. The key to success lies in experimenting with different parameters and camera movements to bring your scenes to life. Whether you’re creating a flying bird or a magical landscape, the possibilities are endless.
Now that you know how to use Pika Labs, the next step is to dive in and start creating. Experiment with different prompts, motions, and upscaling techniques to see what works best for your project. Don’t forget to share your creations with the community and let your imagination run wild!
Happy animating!