
Ever wondered how your favorite animations come to life? Today, we dive into the world of animation with Pika Labs. We’re peeling back the curtain on this innovative platform where creativity meets technology. By the end of our journey together, you’ll not only understand the basics of Pika Labs but also have the skills to bring your very own animations to life. From setting up your account to mastering advanced techniques, we’ve got it all covered. So, buckle up as we dive into the fascinating world of animation with Pika Labs.
Basics of Pika Labs
First, let’s understand what Pika Labs is all about. Picture a playground where creativity meets technology, where ideas transform into vibrant animations. That’s Pika Labs for you. It’s an innovative platform that breathes life into your imagination through its sophisticated yet user-friendly animation tools. Pika Labs stands tall in the realm of animation, thanks to its unique features. It’s a one-stop shop for creating, editing, and sharing animations. With a vast library of templates, characters, and props, you can create a unique animation from scratch or polish an existing one. It’s like having an animation studio right at your fingertips.
But what really sets Pika Labs apart is its intuitive interface. It’s designed with the user in mind, making it easy for both beginners and seasoned animators to navigate. Plus, its advanced animation tools allow you to tweak every detail of your work. Pika Labs gives you the power to perfect your animation. And let’s not forget about the sharing capabilities. Pika Labs makes it easy to share your creations with the world, whether you want to showcase your work on social media or share it with a particular group.
Setting Up Your Pika Labs Account
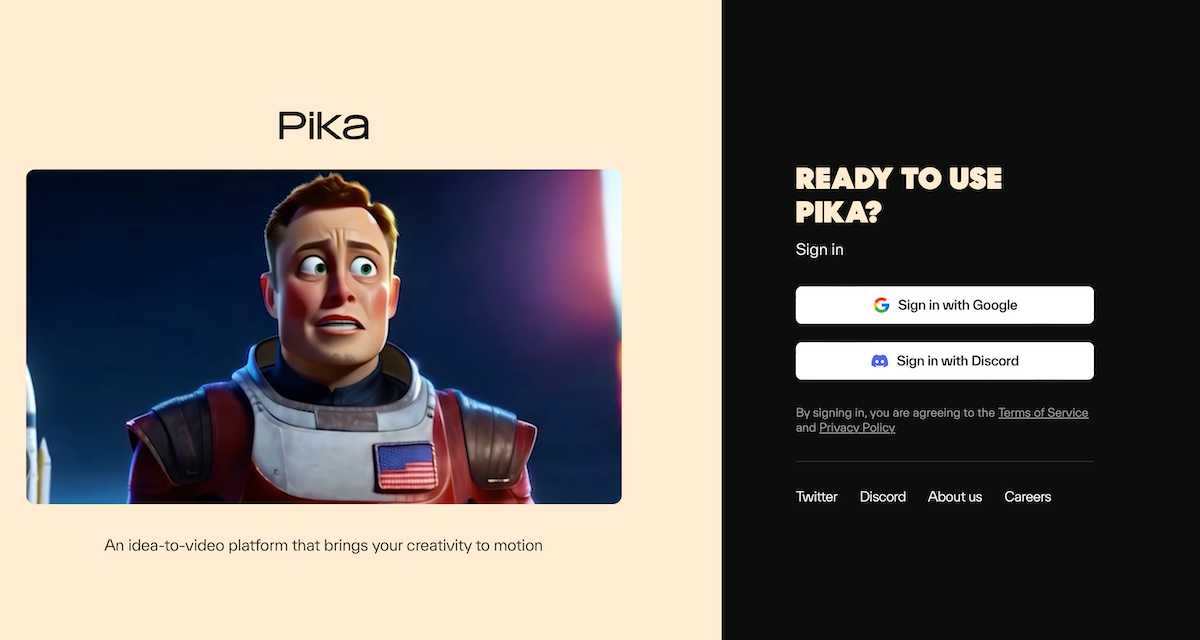
Before you begin animating, you need to set up your Pika Labs account. Head over to the website at https://pika.art, and look for the sign-up button.
Click on it and you’ll be directed to a registration page. Here, you’ll need to fill in some basic information: your full name, email address, and a strong password. After filling in these details, you’ll need to verify your email address. Click on the link in the confirmation email from Pika Labs, and voilà, your account is verified. Now, sign in using your newly created credentials.
Navigating the Pika Labs Dashboard
Navigating the Pika Labs dashboard is easier than you think. Start by looking at the top of the dashboard, where you’ll find the main navigation bar. It’s your control center, ready to assist in your animation journey.
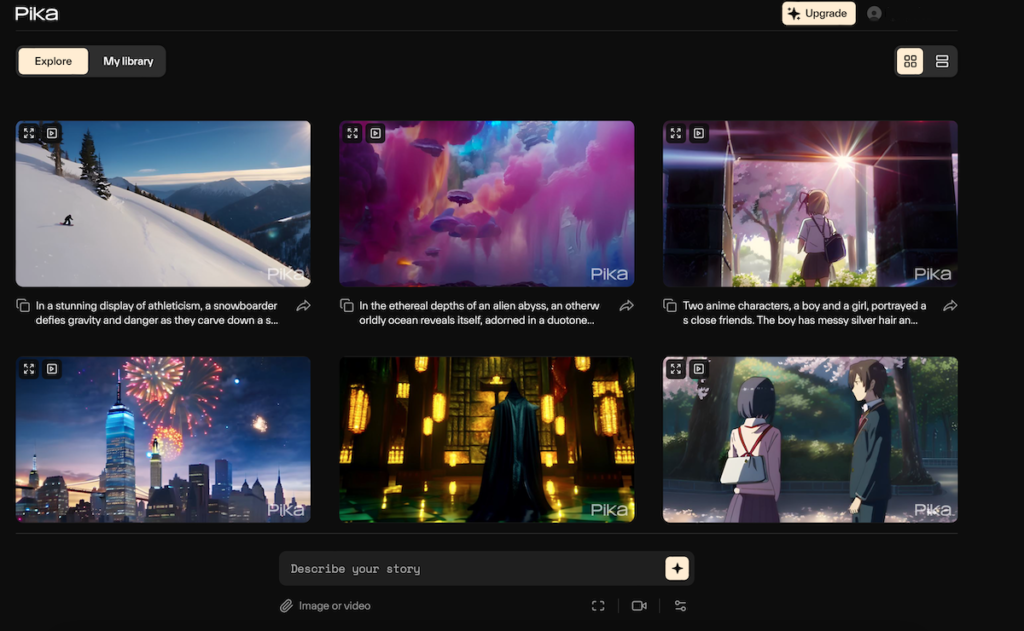
On the left side of the dashboard is your tool palette, filled with all the animation tools you’ll need. The center of the dashboard is your workspace, where you bring your characters and stories to life. The right side houses your layers panel, and at the bottom, you’ll find the timeline, your storyboard. And finally, at the top right corner is the preview button, allowing you to see your animation come to life.
Creating Your First Animation
Ready to create your first animation? Open the Pika Labs platform and select “New Project,” and you’ll be taken to a blank canvas. Start with the brush tool to draw a simple object, like a circle, which will be your first frame. Animation is all about creating a sequence of frames, much like a flipbook. After your first frame, click on the “Add Frame” button to create a new one. In this frame, draw the object slightly altered from the first. Repeat this process, modifying the object slightly in each new frame, to create the illusion of movement.
For a basic bouncing ball animation, for instance, start with the ball at the top in the first frame. In each subsequent frame, draw the ball slightly lower, creating the illusion of it falling. Once it hits the “ground,” start drawing the ball ascending in the following frames to simulate a bounce. After completing the sequence, hit the play button to watch your animation come to life.
You can also add color and adjust the animation speed by changing the frame rate. A higher frame rate results in a faster animation, while a lower frame rate slows it down.
Advanced Animation Techniques
As you grow more comfortable with the basics, you can explore advanced animation techniques like layering, squash and stretch, anticipation, secondary action, and timing and spacing. These techniques add depth, realism, and sophistication to your animations. Layering allows for depth and dimension, while squash and stretch add a sense of weight and flexibility. Anticipation prepares the viewer for a major action, and secondary action adds richness and complexity. Timing and spacing are crucial for conveying speed and weight in your animations.
Tips and Tricks for Better Animations
- Power of Layers: Use layers to work on different parts of your animation independently.
- Rule of Thirds: This principle can give your animations a professional look.
- Easing: Mimic natural motion by allowing objects to speed up and slow down smoothly.
- Color Theory: Use color to set the mood and draw attention, but maintain harmony by sticking to a limited palette.
- Feedback: Share your work and seek constructive criticism to improve.
Conclusion
We’ve explored the basics of Pika Labs, set up accounts, navigated dashboards, created animations, and even delved into advanced techniques and tips. Remember, animation is not just about making things move; it’s about storytelling, evoking emotions, and bringing visions to life. Keep experimenting, learning, and most importantly, having fun with it. With practice and patience, you’ll master the art of animation using Pika Labs. Happy animating!
Read other articles in our Blog: